

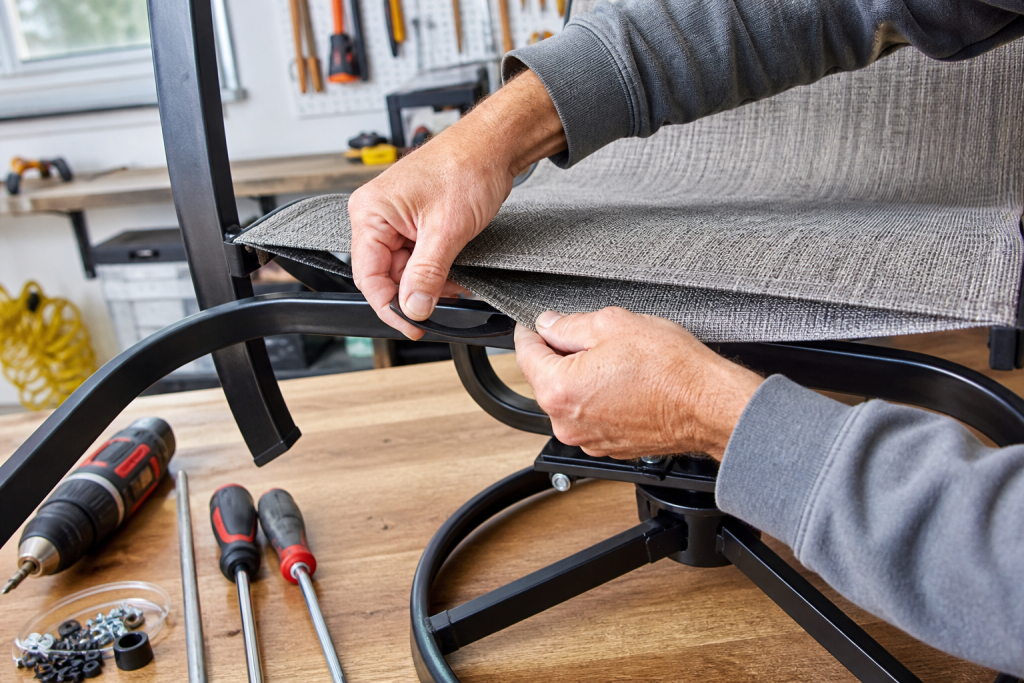
Swivel Chair Installation: 6 Ultimate Steps for a Smooth Sling Upgrade
Swivel Chair Installation is a crucial skill for anyone looking to maintain or upgrade their patio furniture, especially when dealing with sling replacements. A well-executed installation ensures not only the longevity and stability of your chair but also your comfort and safety. Whether you are assembling a new office chair or revitalizing an outdoor swivel dining chair, understanding the precise steps can transform a daunting task into a straightforward project.
This comprehensive guide will walk you through the ultimate steps for a smooth sling upgrade, covering everything from essential tools to troubleshooting common issues. We’ll address how to assemble a new swivel office chair and where to find specific instructions for your model, ensuring you have all the knowledge needed for a successful outcome. With expert tips, you can achieve professional results yourself, extending the life and enjoyment of your swivel chairs.
Key Takeaways
- Master the six essential steps for efficient and secure swivel chair installation, particularly for sling upgrades.
- Identify the necessary tools and components to ensure a smooth and frustration-free assembly process.
- Learn how to troubleshoot common issues like instability or stiffness, ensuring your chair functions perfectly after installation.
- Understand when DIY installation is appropriate and when to consider professional assistance for complex repairs or high-end chairs.
- Discover where to find quality replacement parts and resources for ongoing swivel chair maintenance and repair.
Understanding Your Swivel Chair Installation Project
Before diving into the mechanics, it’s vital to understand the scope of your Swivel Chair Installation. This initial assessment helps you gather the right resources and prepare effectively. Whether you’re assembling a brand-new chair or replacing a worn-out sling on an existing one, a clear plan prevents common pitfalls and ensures a smoother process.
Many new swivel chairs, especially office and gaming models, require self-installation. However, some high-end or specialized furniture may come partially or fully pre-assembled. Always check the product description or packaging for details on required assembly. For specific swivel chair installation instructions, always refer to the user manual provided with your chair. If you’ve lost it, most manufacturers offer downloadable PDF manuals on their websites, and numerous video tutorials are available online for various models.
The duration of a standard swivel chair installation typically ranges from 15 minutes to an hour, depending on the chair’s complexity and your experience. More ergonomic or highly adjustable chairs might take a bit longer due to additional components. Thoroughly reviewing the instructions beforehand can significantly speed up the entire swivel chair installation process.
Preparing for Swivel Chair Installation
Preparation is key to any successful DIY project. Begin by clearing a spacious, well-lit work area. Lay down a blanket or cardboard to protect both your chair components and your flooring from scratches. Unpack all parts and compare them against the parts list in your manual to ensure nothing is missing. This proactive step can save you considerable time and frustration later in the Swivel Chair Installation process.
Identify all the components: the base, casters, gas lift cylinder, seat mechanism, seat cushion, backrest, and armrests. For sling replacements, you’ll also have the new sling fabric, spline, and potentially new rails or fasteners. Having everything organized and within reach will streamline the assembly.
Consider the type of swivel chair you are working with. Office chairs often involve a gas lift and a five-star base, while outdoor patio swivel chairs might feature a more robust frame and a specific sling attachment system. Each type has unique considerations for effective swivel chair installation.
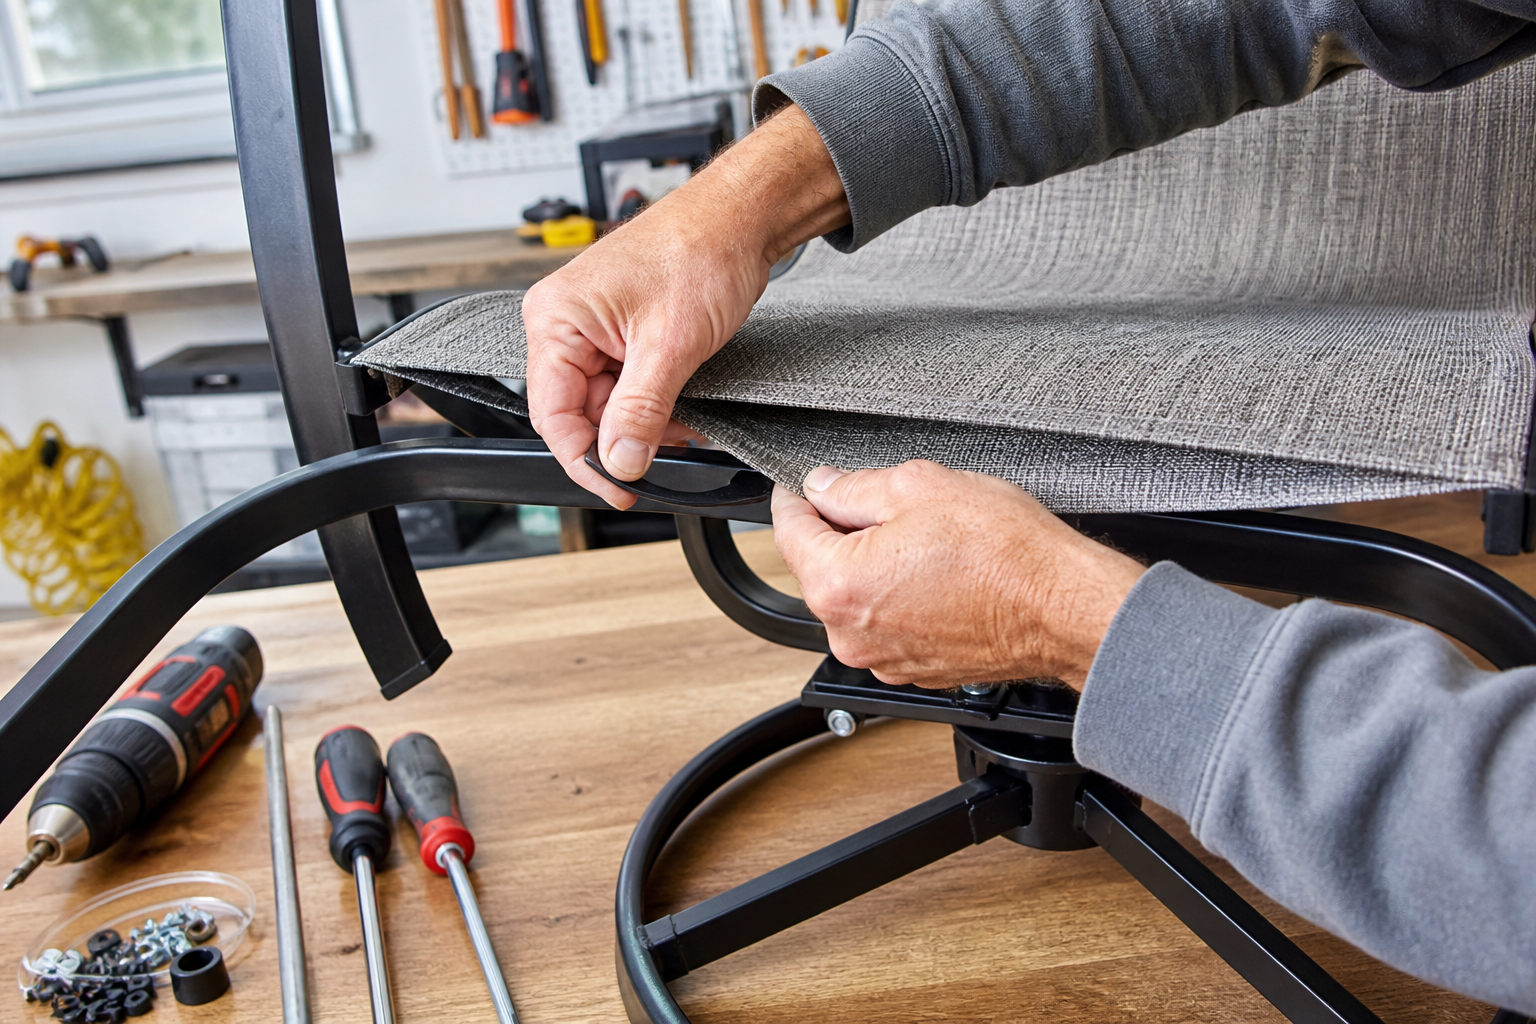
Essential Tools for a Successful Swivel Chair Installation
Having the right tools on hand is paramount for a smooth and efficient Swivel Chair Installation. While many chairs come with basic assembly tools, having a few extra items can make the job much easier and prevent potential damage to components. Most swivel chair installation kits include an Allen wrench, which is often the primary tool needed.
Beyond the included tools, you might also need a Phillips head screwdriver, particularly for attaching armrests or seat mechanisms. A rubber mallet can be incredibly useful for gently tapping casters into the chair base, ensuring they are fully seated without causing damage. For sling replacements, a utility knife or scissors might be needed to trim excess fabric or old spline, and a spline roller can be invaluable for seating the new spline securely into the chair frame.
These tools contribute to a more professional and secure swivel chair installation.
When replacing parts, such as a gas lift cylinder, you might need a pipe wrench or a sturdy hammer and punch to dislodge the old cylinder from the base or seat mechanism. Always prioritize safety by wearing appropriate protective gear, such as gloves, especially when dealing with older, potentially rusted components.
For specialized parts like patio chair slings or specific swivel mechanisms, you can purchase replacement parts for your swivel chair during installation from specialized suppliers like American Slings and Patio Supplies, the chair manufacturer’s website, or general online retailers.
Step-by-Step Swivel Chair Installation for Sling Upgrades
Performing a Swivel Chair Installation for a sling upgrade can revitalize your outdoor furniture, giving it a fresh look and extended life. This process involves careful disassembly and precise reassembly. Follow these 6 ultimate steps to ensure a smooth and successful sling replacement.
Step 1: Disassembly for Swivel Chair Installation
Begin by carefully disassembling the chair. Remove the old sling fabric by unscrewing any bolts that hold the sling rails in place. If the sling is held by spline, gently pry out the old spline from the channels using a flathead screwdriver or a spline removal tool. Take photos as you go to remember the order of components, which can be invaluable during reassembly. This initial step is critical for a clean slate for your new swivel chair installation.
Step 2: Clean and Inspect the Frame
Once the old sling is removed, thoroughly clean the chair frame. Use a mild soap and water solution to remove dirt, grime, and any residue. Inspect the frame for any signs of damage, rust, or loose welds. Address any issues before proceeding; minor rust can be sanded and painted, while structural damage might require professional repair. A clean, sturdy frame is essential for the longevity of your new sling and the overall integrity of the swivel chair installation.
Step 3: Prepare the New Sling Fabric
Lay out your new sling fabric. If it came rolled, allow it to relax for a bit to remove any creases. Many replacement slings are pre-cut to size, but if you have bulk fabric, ensure it is cut accurately, leaving a few extra inches on each side for tensioning. For slings that use spline, ensure the spline channels are clear and ready to accept the new spline.
Proper preparation of the fabric is key to a taut and professional-looking swivel chair installation.
Step 4: Install the Sling Rails or Spline
This is where the new sling is secured. For chairs with sling rails, slide the new fabric into the channels of the rails, ensuring it is centered. Reattach the rails to the chair frame, starting with the top and bottom, then the sides. For spline-based slings, gently push the fabric into the spline channel, then insert the spline over the fabric using a spline roller. Work slowly and evenly, applying tension as you go to prevent wrinkles.
This step is often the most challenging part of the swivel chair installation, requiring patience and precision.
Can I install a swivel chair gas lift cylinder by myself? Yes, installing a swivel chair gas lift cylinder is a common DIY task. Ensure the old cylinder is properly removed by wiggling and pulling it free from the base and seat mechanism. Then, simply insert the new cylinder into the base and place the seat mechanism on top. This is a key step in many swivel chair installation procedures for office chairs.
Step 5: Tension the Sling
Achieving the correct tension is vital for comfort and appearance. For bolted slings, gradually tighten the bolts, alternating sides to distribute tension evenly. For spline slings, ensure the spline is fully seated in the channels. The fabric should be taut but not overly stretched, which could lead to tearing. Some slings may require a few days to fully stretch and settle; you might need to re-tension them slightly after initial use.
A properly tensioned sling enhances the overall feel and look of your swivel chair installation.
Step 6: Reassemble Remaining Components
Once the sling is secure, reattach any remaining components such as armrests, cushions, or decorative caps. Double-check all bolts and screws to ensure they are tightened securely. Test the swivel mechanism and overall stability of the chair. The easiest method to install casters on a swivel chair base is often a simple push-and-click. Align the stem of the caster with the hole in the base, then push firmly until it snaps into place.
A rubber mallet can help if it’s stiff, but avoid excessive force to prevent damage during swivel chair installation. Your newly upgraded swivel chair is now ready for use!

Effortless Swivel Chair Installation with American Slings!
Ensure your patio furniture is perfectly assembled with the right parts and expert guidance. American Slings and Patio Supplies provides top-quality components for lasting comfort.
Troubleshooting Common Swivel Chair Installation Issues
Even with careful planning, issues can arise during Swivel Chair Installation. Knowing how to diagnose and fix these problems can save you time and prevent frustration. Common mistakes to avoid during swivel chair assembly include overtightening screws (which can strip threads), not fully seating the gas lift, using incorrect parts, or skipping steps in the manual. Double-checking each component and ensuring a secure fit prevents issues during your swivel chair installation.
Addressing Swivel Chair Installation Instability
Why is my swivel chair not stable after installation? If your swivel chair feels wobbly or unstable, the first step is to re-check all screws and bolts. Ensure every fastener is tightened securely, but avoid overtightening, which can strip threads or crack plastic components. Pay particular attention to the connections between the seat, backrest, and armrests, as these are common points of instability.
Also, verify that the gas lift cylinder is fully seated into both the chair base and the seat mechanism. Sometimes, a simple adjustment or re-tightening is all that’s needed to restore stability to your swivel chair installation.
Uneven floor surfaces can also contribute to perceived instability. Try moving the chair to a different spot to see if the issue persists. If the problem lies with the casters, inspect them for damage or ensure they are all properly inserted into the base. Damaged casters can lead to an uneven ride and instability. Replacing faulty casters can often resolve this issue, making your swivel chair installation feel secure.
When to Seek Professional Swivel Chair Installation
While many Swivel Chair Installation tasks are suitable for DIY enthusiasts, there are instances when professional help is advisable. Knowing your limits can prevent costly mistakes and ensure the job is done correctly and safely. This is especially true for complex ergonomic chairs or valuable antique pieces.
Is it worth paying for professional installation of a high-end ergonomic swivel chair? For high-end ergonomic models, professional swivel chair installation can be highly worthwhile. These chairs often feature intricate adjustments and sophisticated mechanisms that require precise setup to maximize their comfort and ergonomic benefits. Professionals ensure all features function correctly, providing optimal swivel chair installation and preventing potential damage from incorrect assembly.
A study by the Occupational Safety and Health Administration (OSHA) emphasizes the importance of proper ergonomic setup for workplace health, highlighting the value of expert assembly for such chairs.
Who offers professional swivel chair installation services near me? Professional swivel chair installation services can often be found through local furniture stores, handyman services, or office supply companies that offer assembly. Searching online for ‘furniture assembly services’ or ‘swivel chair installation near me’ should yield local options. If you need immediate help with swivel chair installation today, consider checking same-day handyman services or furniture assembly apps.
Some local stores might offer expedited service, or you can find numerous online resources providing detailed video guides for quick DIY swivel chair installation.
How much does it cost to hire someone for swivel chair assembly? The cost to hire someone for swivel chair installation varies widely based on location, the complexity of the chair, and the service provider. Expect to pay anywhere from $50 to $150. Some services offer flat rates per item, making it easier to budget for professional swivel chair installation.
Maximizing Longevity After Swivel Chair Installation
Once your Swivel Chair Installation is complete, taking a few extra steps can significantly extend the life and performance of your chair. Regular maintenance and proper usage are key to ensuring your investment provides lasting comfort and functionality.
Periodically check all bolts and screws for tightness, especially after the first few weeks of use, as components can settle. Lubricate moving parts, such as the swivel mechanism and casters, with a silicone-based spray to ensure smooth operation and prevent squeaking. Keep the chair clean, particularly if it’s an outdoor patio chair, to prevent dirt and grime buildup from affecting its mechanisms or fabric.
For chairs with gas lift cylinders, avoid excessive force when adjusting height, and ensure the chair is not overloaded beyond its weight capacity. Proper care and attention after swivel chair installation will help you enjoy your chair for many years to come.
Conclusion: Mastering Swivel Chair Installation
Mastering Swivel Chair Installation is an empowering skill that allows you to confidently assemble new furniture or breathe new life into existing pieces. By following these 6 ultimate steps, from careful preparation and tool selection to precise assembly and troubleshooting, you can ensure a smooth sling upgrade and a stable, comfortable chair. Remember to prioritize safety, pay attention to detail, and don’t hesitate to seek professional assistance when needed.
Whether you’re tackling an office chair or an outdoor patio swivel, the principles remain the same: precision, patience, and the right resources will lead to a successful outcome. With this guide, you are well-equipped to handle your next swivel chair installation project with expertise and achieve results that stand the test of time.
Frequently Asked Questions About Swivel Chair Installation
How do I assemble a new swivel office chair?
Assembling a new swivel office chair typically involves attaching the casters to the base, inserting the gas lift cylinder, placing the seat mechanism onto the cylinder, and finally securing the backrest and armrests. Always follow the manufacturer’s specific instructions for your model to ensure correct swivel chair installation.
What tools are required for swivel chair installation?
Most swivel chair installation kits come with basic tools like an Allen wrench. You might also need a Phillips head screwdriver, a rubber mallet (for casters), and sometimes a utility knife to open packaging. Having these on hand will make your swivel chair installation process smoother.
Can I install a swivel chair gas lift cylinder by myself?
Yes, installing a swivel chair gas lift cylinder by yourself is a common DIY task. Ensure the old cylinder is properly removed by wiggling and pulling it free from the base and seat mechanism. Then, simply insert the new cylinder into the base and place the seat mechanism on top. This is a key step in many swivel chair installation procedures.
Why is my swivel chair not stable after installation?
If your swivel chair is unstable after installation, double-check all screws and bolts for tightness. Ensure the gas lift cylinder is fully seated in both the base and seat mechanism. Uneven floor surfaces or damaged casters can also cause instability. Proper swivel chair installation ensures a balanced and secure chair.
Where can I find installation instructions for my specific swivel chair model?
For specific swivel chair installation instructions, refer to the user manual that came with your chair. If you’ve lost it, check the manufacturer’s website; most provide downloadable PDF manuals. Online forums and video tutorials can also offer helpful guidance for your swivel chair installation.
How long does it typically take to install a standard swivel chair?
A standard swivel chair installation typically takes anywhere from 15 minutes to an hour, depending on the complexity of the design and your experience level. Ergonomic or highly adjustable chairs may take slightly longer due to more components. Thoroughly reviewing the instructions beforehand can speed up the swivel chair installation process.
What are common mistakes to avoid during swivel chair assembly?
Common mistakes during swivel chair installation include overtightening screws (which can strip threads), not fully seating the gas lift, using incorrect parts, or skipping steps in the manual. Double-checking each component and ensuring a secure fit prevents issues during your swivel chair installation.
Do all new swivel chairs require self-installation, or are some pre-assembled?
While most swivel chairs require some degree of self-installation, particularly office and gaming chairs, some high-end models or those purchased from specialized furniture stores may come partially or fully pre-assembled. Always check the product description for details on required swivel chair installation.
Who offers professional swivel chair installation services near me?
Professional swivel chair installation services can often be found through local furniture stores, handyman services, or office supply companies that offer assembly. Searching online for ‘furniture assembly services’ or ‘swivel chair installation near me’ should yield local options.
How much does it cost to hire someone for swivel chair assembly?
The cost to hire someone for swivel chair installation varies widely based on location, the complexity of the chair, and the service provider. Expect to pay anywhere from $50 to $150. Some services offer flat rates per item, making it easy to budget for professional swivel chair installation.
Where can I purchase replacement parts for my swivel chair during installation?
You can purchase replacement parts for your swivel chair during installation from specialized suppliers like American Slings and Patio Supplies, the chair manufacturer’s website, or general online retailers. Common parts include casters, gas lifts, armrests, and mechanisms. For patio swivel chairs, American Slings is a great resource for slings and related components.
What is the easiest method to install casters on a swivel chair base?
The easiest method to install casters on a swivel chair base is often a simple push-and-click. Align the stem of the caster with the hole in the base, then push firmly until it snaps into place. A rubber mallet can help if it’s stiff, but avoid excessive force to prevent damage during swivel chair installation.
Is it worth paying for professional installation of a high-end ergonomic swivel chair?
Paying for professional swivel chair installation for a high-end ergonomic model can be worthwhile. These chairs often have complex adjustments and mechanisms that require precise setup to maximize comfort and ergonomic benefits. Professionals ensure all features function correctly, providing optimal swivel chair installation.
I need help assembling my new swivel chair today, what are my options?
If you need immediate help with swivel chair installation, consider checking same-day handyman services or furniture assembly apps. Some local stores might offer expedited service. Alternatively, many online resources provide detailed video guides for quick DIY swivel chair installation.
Are there video tutorials available for installing different types of swivel chairs?
Yes, numerous video tutorials are available online for installing various types of swivel chairs. Platforms like YouTube are excellent resources. Search for your specific chair model or ‘universal swivel chair installation guide’ to find visual step-by-step instructions that can greatly assist your assembly process.